


Loads of you wanted to know how I made this envelope gift card..... I made another one very quickly taking photos of the various steps, I hope it is fairly simple......

Measure the envelopes you are going to use, and cut some double sided cardstock 1/2" wider (I forgot to do this, a fine example I give....) and double the height plus 2". I used 5" square envelopes, so cut the cardstock to 5" x 12" (should have been 5 1/2" wide).
score at 2", then at the halfway point, in my example at 5" - it doesn't have to be a square card, you can use a C6 or invitation sized card

Crease your folds with a bone folder

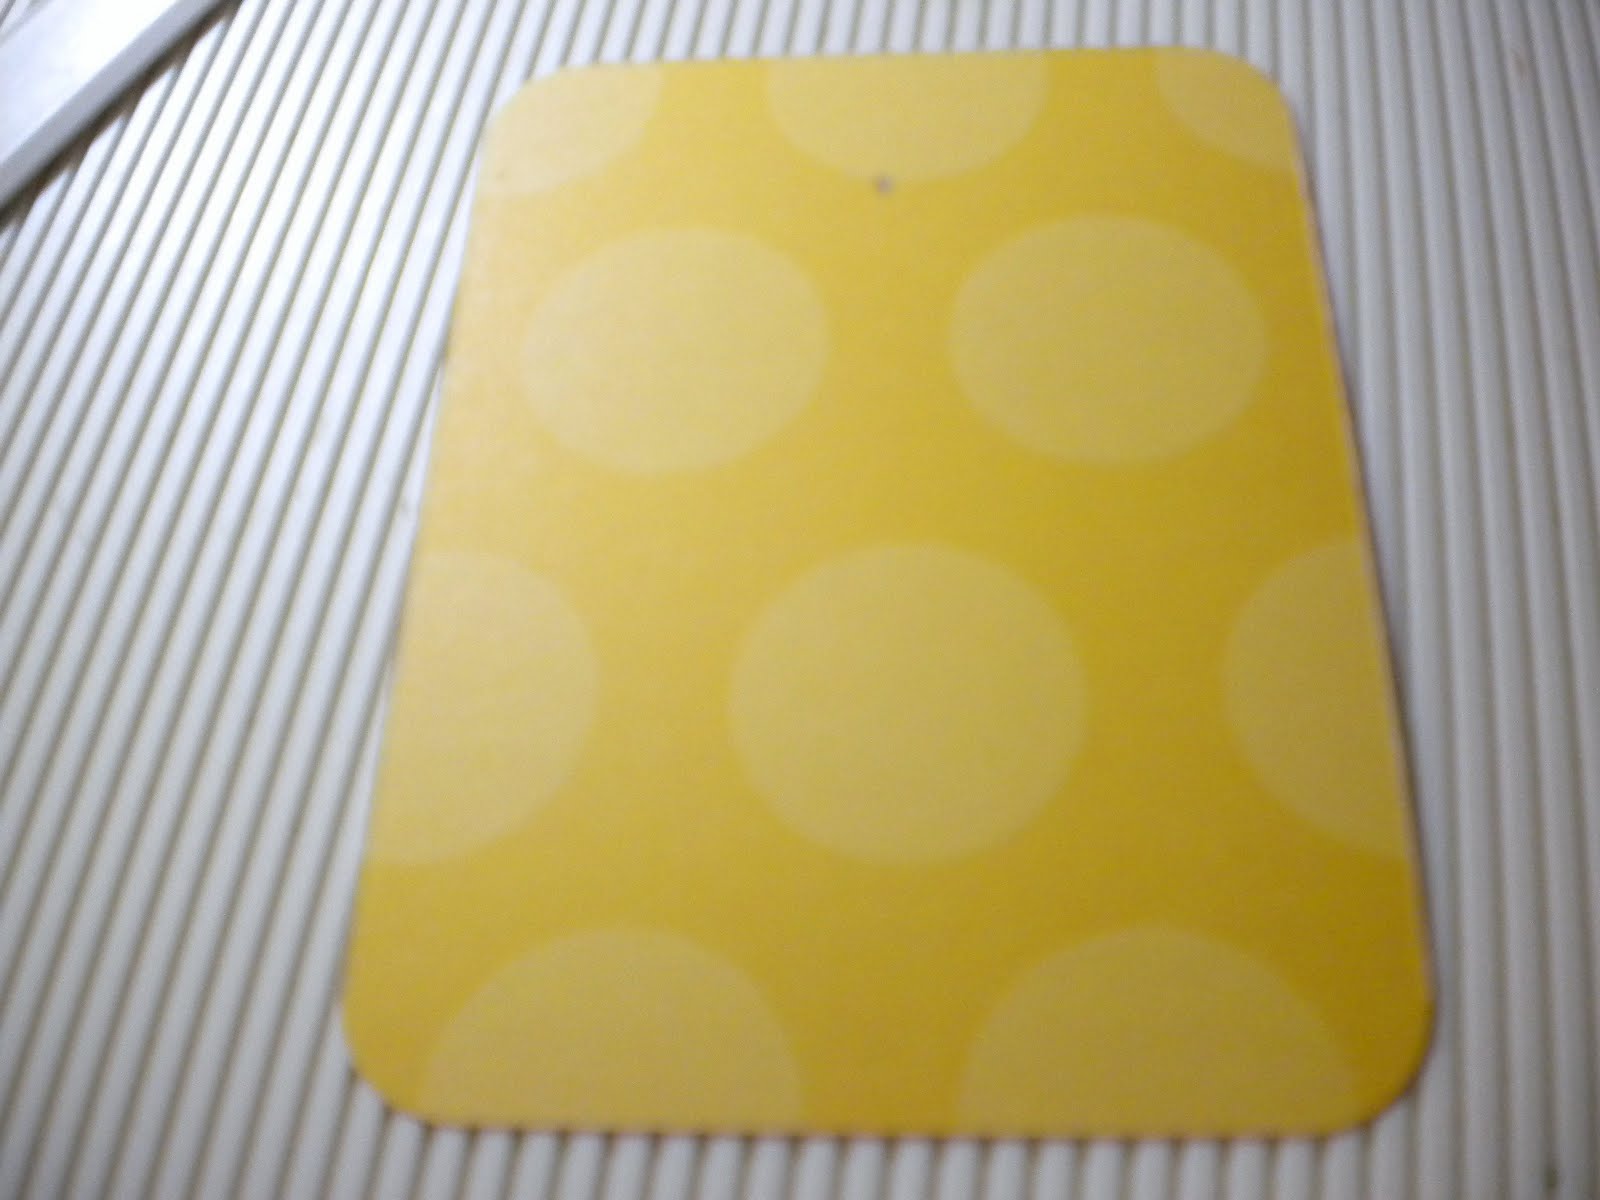
Cut a rectangle of pattern paper for the front (in this case 2" x 3"), round the corners and mark the center point about 3/4" down from the top
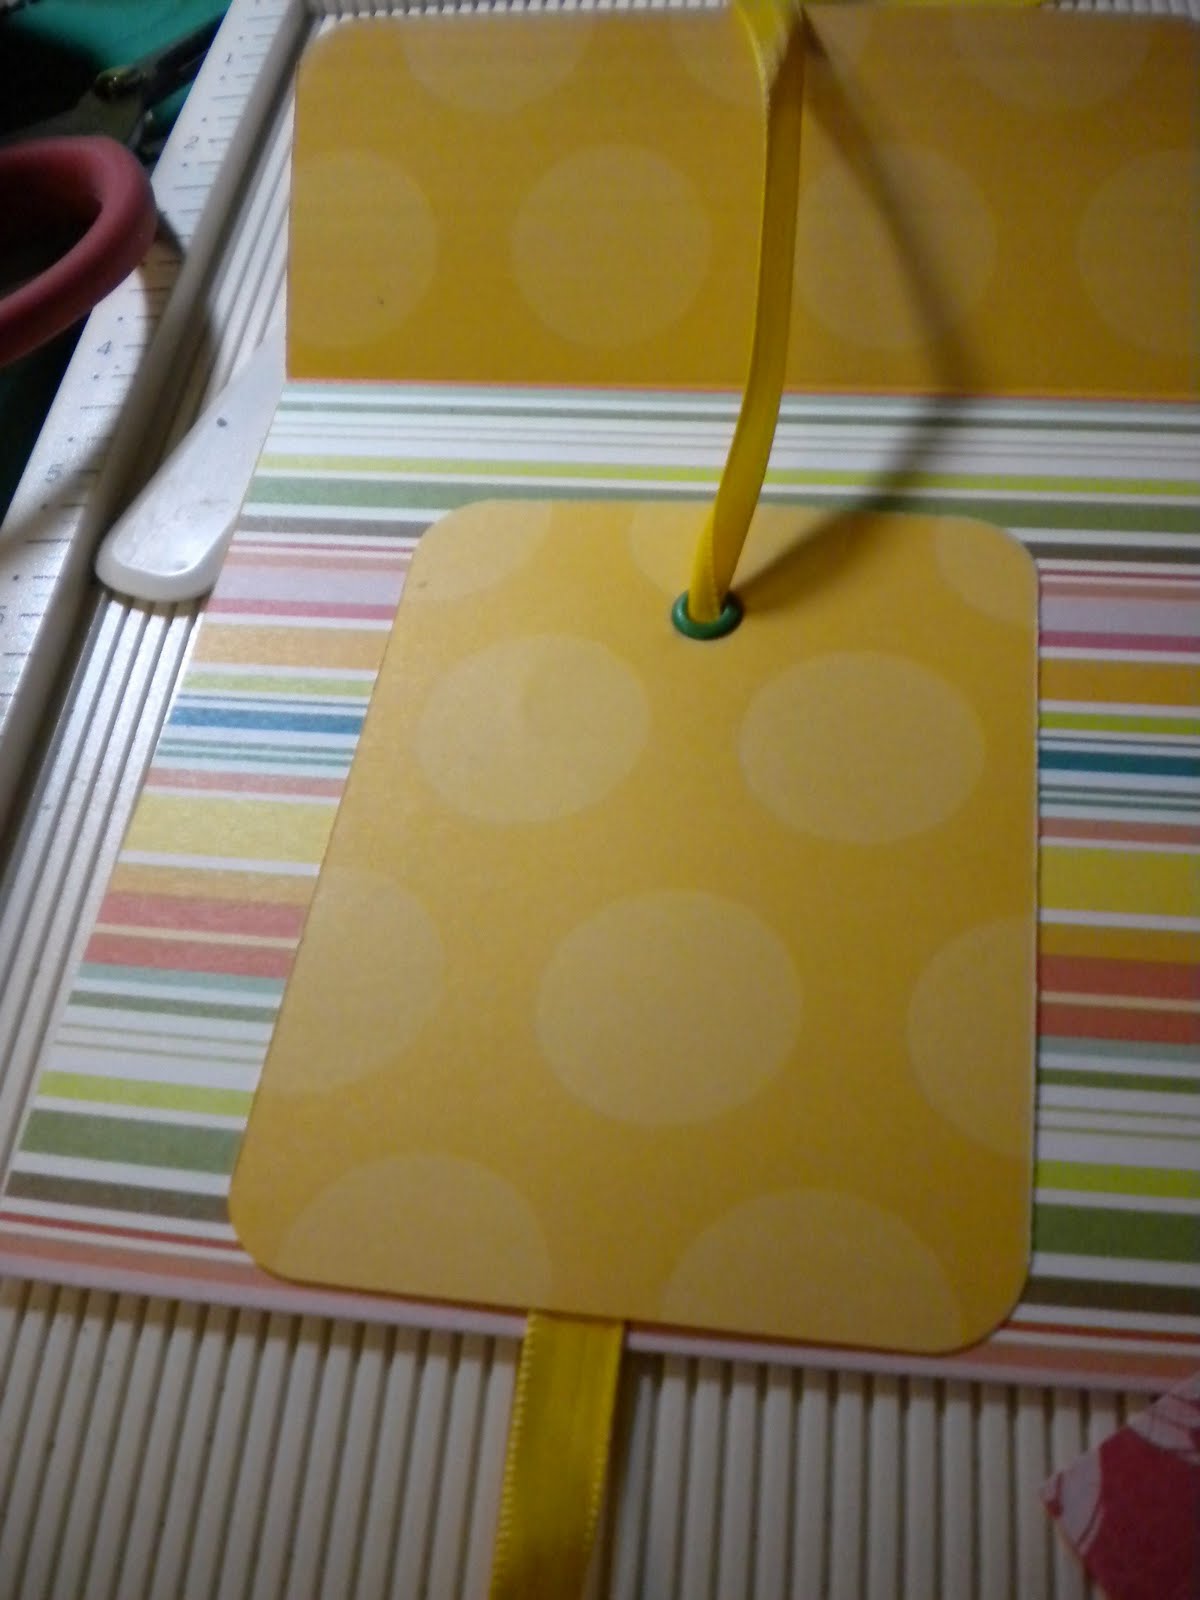
Punch a hole and insert an eyelet at the marked point and thread with about 2 feet of ribbon. With half the ribbon running down the back of the panel, fix to the bottom fold of your main card
Seal two, or three envelopes and cut to fit inside the card comfortably - I cut them down to 4"

Apply adhesive to the backs of two of the envelopes and stick another envelope on top, so you end up with a little stack of envelopes, make sure the cut side openings are all facing the same way

A poor photo showing the envelopes stuck together with the openings at the top

Put sticky tape as shown on the top and bottom folds of the main card

Stick the envelope stack to the top half, making sure the open edges are at the top, then bring up the bottom half and stick to the envelopes

I used some ready made tags for quickness, and cut a scrap of the pattern paper to make a gift card pocket for one of them

Thread the tags with ribbons, and insert into the pockets

Wrap the ribbon around and tie in a bow as shown - sorry about the photos, I made this at night and photographed as I went....

Decorate your panel and add a sentiment

Any questions? Leave them in a comment and I will answer them on this post
Linda asked if you can use just one envelope to take a gift card? Yes you could Linda, but the little pockets look cute, I would advise two - one for the gift card, and one with another tag to write your message. If you use three, make the gift card pocket for one, another for your greeting, and write or stamp a verse or sentiment on the third one - you can decorate the tags as much as you want as long as they stay fairly flat, otherwise the card would be too bulky when tied up
Scroll down to enter the Promarker giveaway

This is beautiful! Thank you for the tutorial!
ReplyDeleteLovely Enfys and thanks for the tutorial. I am going to have to try this.
ReplyDeleteI have a blog award for you if you want to stop by my blog
Still enjoying my Promarkers!
http://nanadonnascarddreams.blogspot.com/
So gorgeous Enfys,I love the papers and the colours.
ReplyDeleteHugs Riet.xx
Great project Enfys...another thing to add to my ever growing list! Cheers Claire x
ReplyDeleteawesome!!! I´ll feature on my blog. hope you don´t mind
ReplyDeletehugs from Brazil
Thanks Enfys, I'm going to come back and check it out when my brain is more apt to learn! lol too much going on at the mo! TFS
ReplyDeleteHugs, Jessica
Huge thanks for the tutorial Enfys! Gorgeous colours, love it.
ReplyDeleteThis is a lovely tutorial, thank you!
ReplyDeleteWhat a nice way to give a gift card. Did you use 3 envelopes because you wanted 3 places to put tags. If you are giving one gift would you just use one envelope?
ReplyDeleteThank you
Linda in Stanwood
Oh Enfys thats a fabulous idea and usch a lovely present to give to someone. with hugs Shirleyxx
ReplyDeleteGreat idea and I love the colors, too!
ReplyDeleteI love the pink one, and the idea is great! A gift card is perfect, with another tag for a personal card and a sentiment on a third sounds perfect!
ReplyDeleteThanks for the lovely tutorial!
Blessings, Donna
grandma4five
Great job on this tutorial! Thanks.
ReplyDeleteI love both of them Enfys, thanks for sharing the details.
ReplyDeleteWow, Enfys, this is so wonderful.
ReplyDeleteThank you so much for the tutorial.
Hugs
Melodie
So clever Enfys. Thanks for putting the instructions here.
ReplyDeletehugs
Marion
These look great and are a brilliant and easy idea. Instructions are nice and easy to follow to, thanks for sharing.
ReplyDeleteKim xXx
Thank-you Enfys for the detailed instructions! What a lovely gift!
ReplyDelete-Barb-
This is a great idea Thanks for sharing the pictures
ReplyDeleteWhenever I visit your blog I learn something new! Thanks En.
ReplyDeleteHope all is good with you and yours.
:)xx
It's always fun to make a gift card with a twist. Thanks so much for posting the tutorial.
ReplyDeleteWow! Super tutoral! I was going to make a card with an envelope for money inside and this instruction helps me a lot! Thanks!
ReplyDeleteThis is an awesome tutorial! Thank you so much! Can't wait to try some!!!
ReplyDeleteI like your this creation of Tutorial for Envelope gift card, desgin, I think second one design of gift cards is so attractive.
ReplyDeletePlastic Business Cards
Plastic Cards printing
Scratch Card Printing