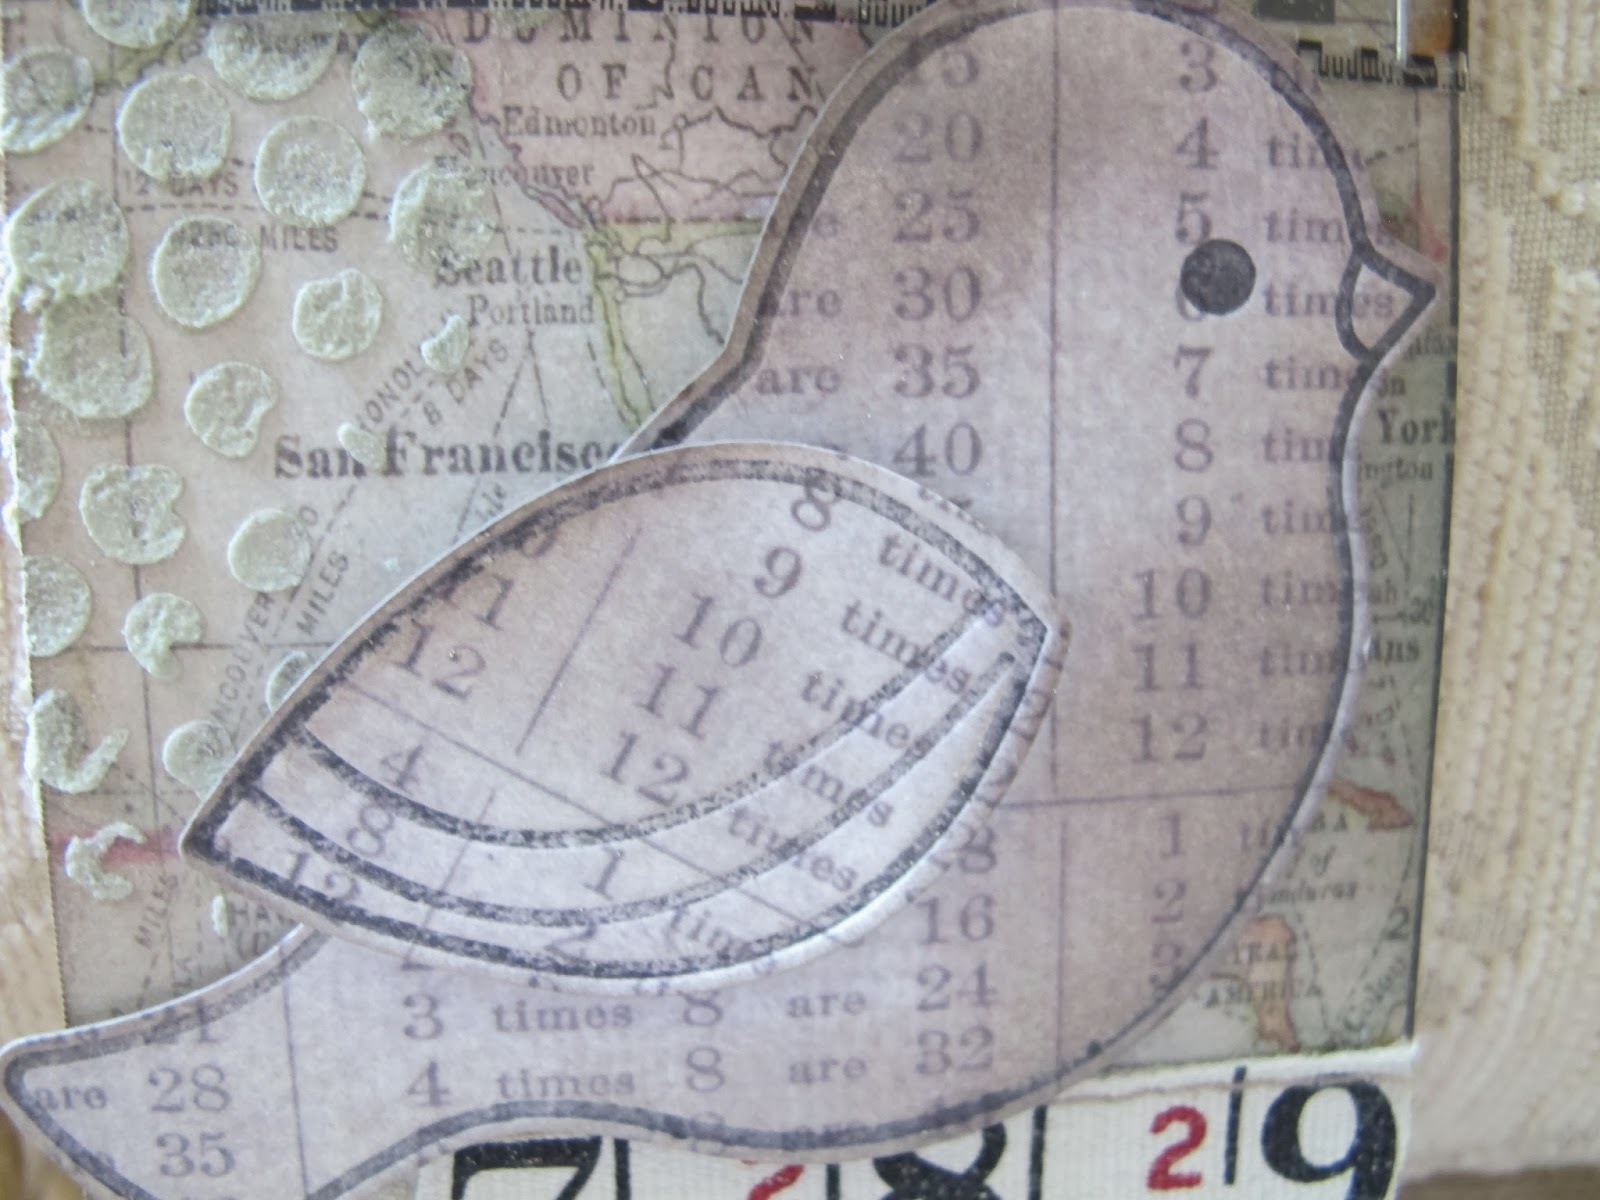
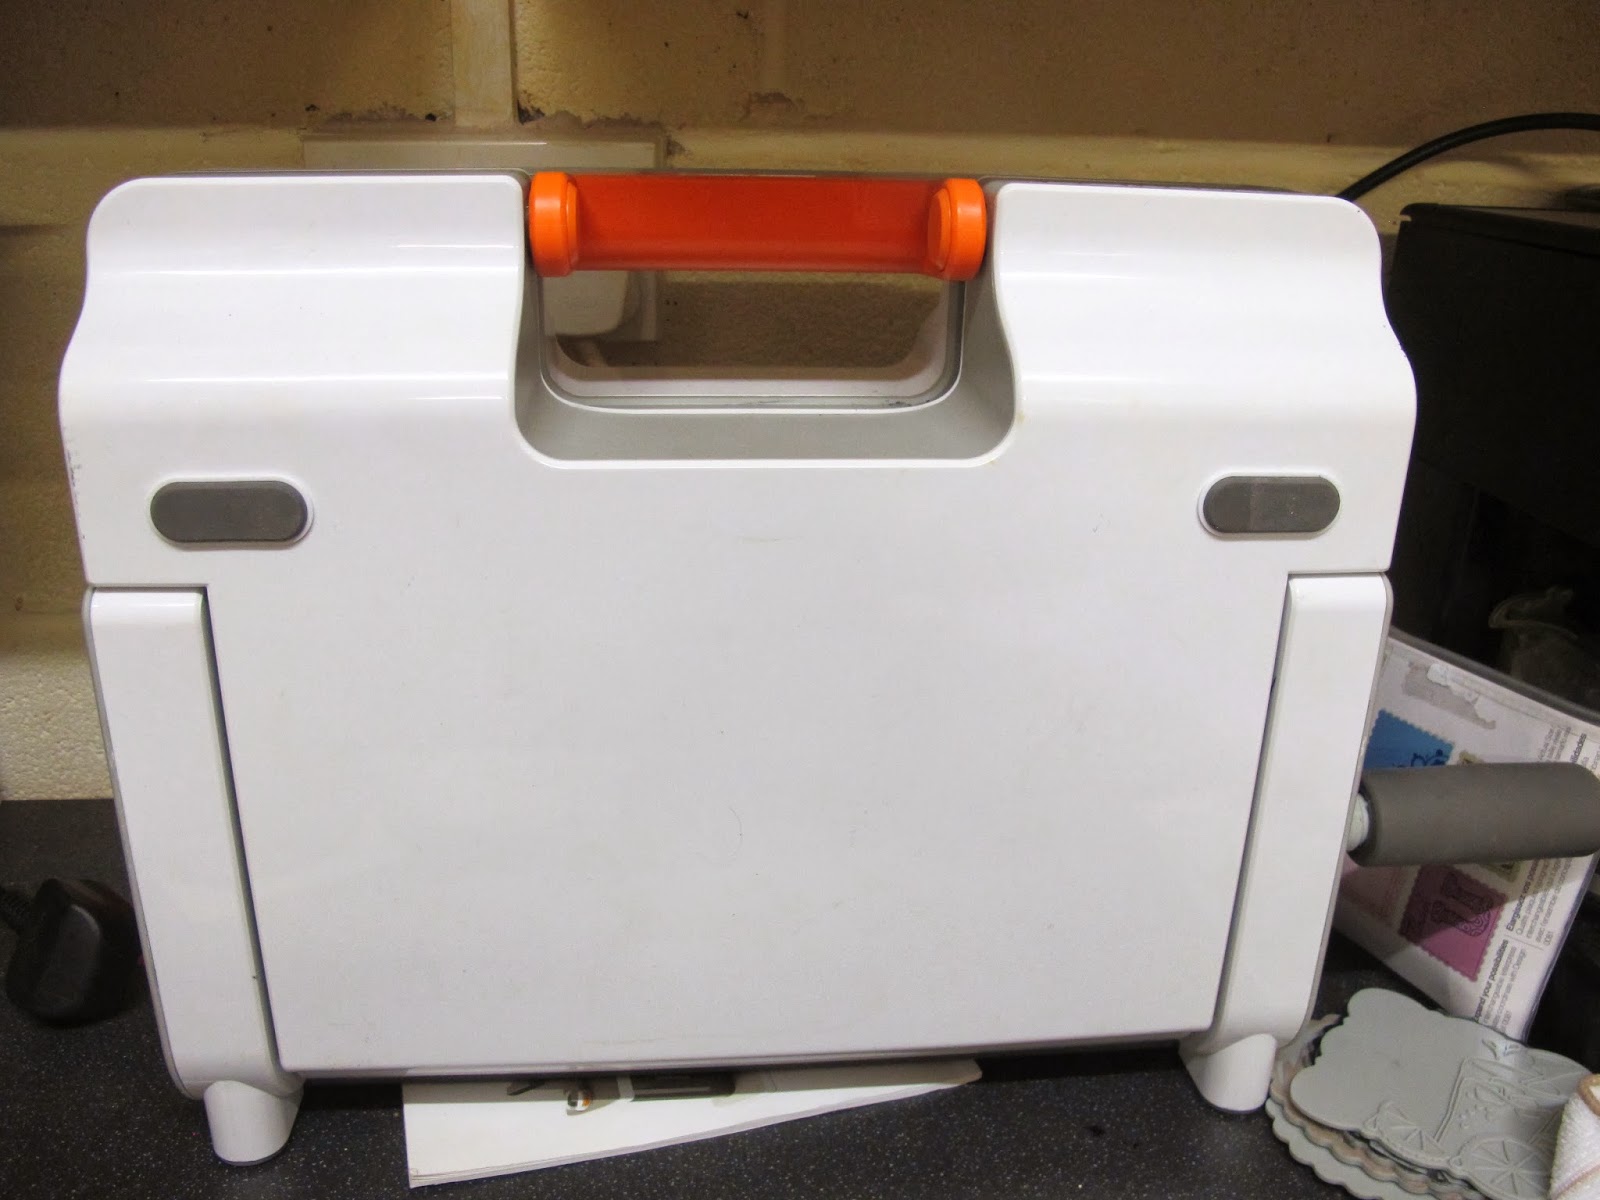
Following on from yesterdays post, I was anxious to try using the letterpress feature of the fuse, and decided to make a set of notecards. I used distress inks in different colours to make a set of cards - I letterpressed directly onto the card fronts, so they are single layer, easy to mail and simple to make...
Then I made a box to put them in, the envelopes measured 5", so I cut a square of cardstock to 7" and scored at 1" down each side, and snipped a flap at each corner. Apply tape to these corners, then fold into a box. Repeat this for the top of the box......
They fitted perfectly.....
Then I had fun decorating the top of the box
I like giving these sets of cards to friends as hostess gifts - they seem to be appreciated as much as a box of after eight mints!
Then I made another set, this time using the letterpress and the die, then attached the scalloped ovals to plain white cards. I used the same colours and this time I dug out some sentiment stamps and stamped a sentiment in the same colour as the letterpress on each card, so the recipient will have a nice little stash of cards for every occasion.......
No box for this one, but it made a nice little bundle when the cards and envelopes were ties together with ribbon, raffia and a little paper rose.....
What the photos don't show of course are the gorgeously embossed look of the inked cards, take it from me, it looks classy! The other thing that was noticeable after using the machine for a hour, was how effortless it is to crank the sandwich of plates and papers through the machine, much much less effort is needed than the cuttlebug and big shot (which are the only manual die cutters I have used on a regular basis)
I have run out of time to do the random generator thingy for the giveaways, I'll sort it out later and let you know tomorrow when I will have more inky letterpressing to share with you - see you then x