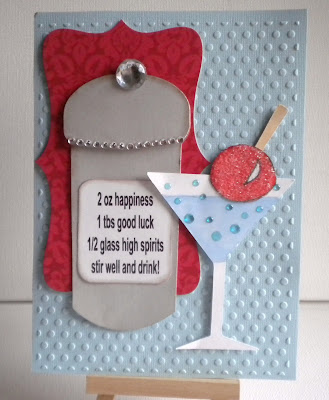
Loads of you wanted to know how I made this envelope gift card..... I made another one very quickly taking photos of the various steps, I hope it is fairly simple......

Measure the envelopes you are going to use, and cut some double sided cardstock 1/2" wider (I forgot to do this, a fine example I give....) and double the height plus 2". I used 5" square envelopes, so cut the cardstock to 5" x 12" (should have been 5 1/2" wide).
score at 2", then at the halfway point, in my example at 5" - it doesn't have to be a square card, you can use a C6 or invitation sized card

Crease your folds with a bone folder

Cut a rectangle of pattern paper for the front (in this case 2" x 3"), round the corners and mark the center point about 3/4" down from the top

Punch a hole and insert an eyelet at the marked point and thread with about 2 feet of ribbon. With half the ribbon running down the back of the panel, fix to the bottom fold of your main card

Seal two, or three envelopes and cut to fit inside the card comfortably - I cut them down to 4"

Apply adhesive to the backs of two of the envelopes and stick another envelope on top, so you end up with a little stack of envelopes, make sure the cut side openings are all facing the same way

A poor photo showing the envelopes stuck together with the openings at the top

Put sticky tape as shown on the top and bottom folds of the main card

Stick the envelope stack to the top half, making sure the open edges are at the top, then bring up the bottom half and stick to the envelopes

I used some ready made tags for quickness, and cut a scrap of the pattern paper to make a gift card pocket for one of them

Thread the tags with ribbons, and insert into the pockets

Wrap the ribbon around and tie in a bow as shown - sorry about the photos, I made this at night and photographed as I went....

Decorate your panel and add a sentiment

Any questions? Leave them in a comment and I will answer them on this post
Linda asked if you can use just one envelope to take a gift card? Yes you could Linda, but the little pockets look cute, I would advise two - one for the gift card, and one with another tag to write your message. If you use three, make the gift card pocket for one, another for your greeting, and write or stamp a verse or sentiment on the third one - you can decorate the tags as much as you want as long as they stay fairly flat, otherwise the card would be too bulky when tied up
Scroll down to enter the Promarker giveaway


